Showing posts with label Karen Totten. Show all posts

Wednesday, April 29, 2015

Okay....one more!

Written by Patti Vanderbloemen of My Addictions Handcrafted Jewelry

I have had this ceramic focal from Karen Totten of Starry Road Studio for quite awhile now.


I have made more than several attempts to incorporate this focal into a necklace - but nothing I came up with worked for me.  Everything I tried seemed to take away from the simplicity of the beads, which by the way, I absolutely adore!  

In my last few posts, I have been incorporating silk into my necklaces.  I was sure I only had shades of purples and eggplant left in my fiber stash.  But, I don't know when I purchased this - or who it was from - but I found more!  I swear - this has to have been in my little box labeled "fibers" for at least two years now...at the bottom.

Well, I also still had 3 of the copper bails left that I made last week...


...as well as a stash of handmade components that I have not used yet, and these little wire connectors still remind me of a bird's nest, albeit, with a huge hole in the middle!


I think this necklace is my favorite so far - the muted tones tend to match my personality more.


And that little pop of red..yum!


Who knows...this newly located stash of silk may mean I have to make more necklaces!

Spring has sprung here - and the morning is my favorite time of day to be outside - it was a most enjoyable walk with Sarge this morning!  Hope you are having wonderful weather where you are located, as well!

Thanks so much for stopping by today - have a great Wednesday!!!

xo
Patti


Sunday, September 28, 2014

A picture says a thousand words....

Since I began this journey of jewelry making a few years ago, I have struggled with trying to take the perfect picture.  I have tried outdoors in natural light, indoors with a light box, indoors with photo lamps, "white background" images, scrapbook or textured paper background images, books as props, interesting "boards" as props.....the list goes on (and on).  

I have never been happy with the images.  The colors of the beads were always subdued, the metals - especially silver - never appeared true to form.

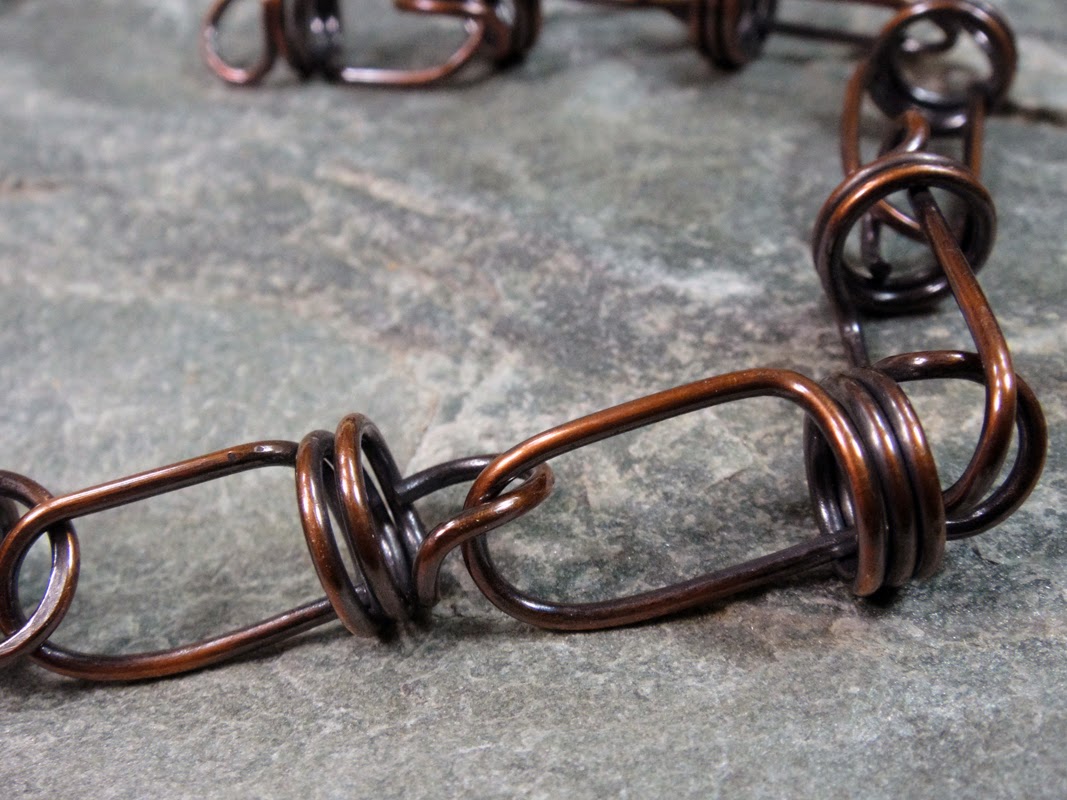
About a year and a half ago, I purchased a granite stepping stone from my local nursery.  I fell in love with the texture, and I thought it would give a natural "boost" to the images of my jewelry.  Can you see the years of layering on that granite?  Swoon!


After much reading, I decided to try what is called "18% Gray Card" as my background.  It is simply a piece of cardboard with gray at 18 percent saturation. Here is a link to a similar card here - though Amazon carries many types, just shop around.   I actually purchased one months ago, but only used it sparingly.  Here is a picture of the back of the card - You have to click on the image to zoom if you really want to read the fine print!


And this is my current photography setup in my lovely basement studio.


I simply place the jewelry on the "card" and snap away.  I am still using the granite - but only for added height.   I use a Sony Cybershot (this one) that has an automatic macro setting - no zooming required.  I have a tri-pod, but I don't use it.  For some unknown reason, I don't have a problem holding the camera steady.

Personally, I see a HUGE improvement from using Gray Card versus the granite as my background.
Especially on pure metal pieces.


You can actually see the transparency in the glass now in these gorgeous beads by Donna Millard.


The pinks and greens on those beautiful beads were just blah.


I think they pop, now.


Same necklace below - different background.  No more distraction from the granite.


Beads by Kerry Bogert

So, I have spent the last 2-3 weeks retaking photos of every single item in my shop.  Necklaces, in particular, killed me!  I always take 10-15 images of each piece.  The only editing I have had to do is crop once in a while, and resize the image.

I still have a few pair of earrings left to rephotograph. Ugh.

I have made a few new things, too! I recently purchased these beads from Karren Toten of Starry Road Studio.  I was mesmerized by that blue feather!


I wanted to make a long focal, highlighting that feather.  So, I made my very first tab set pendant, something I have wanted to conquer for ages.


I also made the chain links.

Totally in love with how this one turned out!

I also made this bracelet, and I am happy to report that I made another soldered hollow bead and some more riveted chain!  I thought for sure the first time I made that hollow bead it was a fluke!

Beads by Donna Trull

Made a few more bangles, this time I mixed up the metals and added some red brass.  Each bangle has double twists and is riveted, instead of soldered closed.


The earrings below were a test to my patience!  I twisted solid copper and red brass together (not easy - at least for me!), balled the ends, and made slender sticks.  I topped these with some gorgeous mini lampwork beads by Beads and Botanicals.


So, I saunter on, continuing to edit pictures.  It is so beautiful outside - I am sure there is a lawn chair calling my name!

Thanks so much for stopping by today - feel free to leave any photography tips I may have missed!  I LOVE to get new tips and hints!

xo
Patti

Sunday, October 27, 2013

It is finally my favorite season!!

Fall!  Actually, my favorite season is winter.  But, Fall will do!  Although in my neck of the woods, Northern Virginia, the maples have not turned quite as red as I like, it is still full of color...and inspiration!

I purchased a tutorial on Etsy a few weeks ago from Linda Aspenson Bergstrom on how to make leaves from copper.   I sat down at the bench on Saturday and played with some copper sheet - 22 gauge to be specific.  


These are pendant size- oh my, I had so much fun!  After fabricating, I tossed these in a bath of liver of sulfur, buffed, and tumbled.  The copper was gloriously shiny!  But then I added just a touch of golden gilder's paste - I wanted them to resemble the falling leaves in my backyard.


After showing these to my mother, she said those would be pretty smaller, as earrings.  So, back to the bench...


But this time, I skipped the Liver of sulfur.  I colored with the flame from my torch and added the tiniest amount of gilder's paste.  Most of these have the color on just the edges.  I am still experimenting.


The picture above shows the size comparison.  I added a few coats of Permalac to seal in the color.  I have actually made two pairs of earrings already, but the ear wires have to take a tumble before final assembly.

In the meantime, I wanted to use one of the leaves.  So, I whipped up this necklace using ....you guessed it...another link from Cindy Wimmer's new book, The Missing Link!  I was going for whimsical here...not sure if I achieved that exactly, but I still like this chain!

This is a very cool link - looks just like a light bulb!  Cindy had a tutorial  a while back in one of the wire magazines - it was either Step by Step Wire or Easy Wire - for the light bulb clasp.  I have actually used made these clasps before, but it has been awhile.  I couldn't find the tutorial (my magazine collection grows like my bead collection...ugh...I cannot find anything when I want it!).  So, I just followed the link design, but made the clasp in a heavier gauge - 14 gauge.


I wanted to use a copper leaf as a charm, so I made one of the light bulb links in 14 gauge, and strung a sweet little ceramic leaf charm by Karen Totten of Starry Road Studio, and the CUTEST  bronze squirrel charm!  This charm is very special, as it was made by LeAnn Weih of Summers Studio.  LeAnn has been learning the art of Lost Wax Casting - and this is one of her first charms!   I cannot explain this artform and give it justice - suffice it to say it is arduous!  I was - and am - extremely honored to have received this little beauty, which I think completes pendant...don't you?  Thank you again, LeAnn!!


Isn't he adorable!  I strung some tiny little jasper rounds on top of my copper leaf....I believe that little squirrel thinks those are food related!


Yes - again, I stood on a chair with a photography lamp in my left hand, camera in my right, and I am so proud that I did fall off that chair!  (There has GOT to be a better way to take pics of Lolita wearing necklaces...I just do not know what that is yet)!


That was my weekend.  I hope yours was just as wonderful!

Thank you so much for stopping by!

xo
Patti

Saturday, October 12, 2013

Birds?

As I have mentioned, I purchased a few bead bundles (few?  who am I kidding?) while attending artBLISS last month.  I kept telling myself "think of all the money you are saving on postage by buying them now"!  There is a sweet little local bead shop in Occoquan that I visit once in a while, but I am basically a home body and buy 99% of all beads online.  So, to see the beads in person before I bought them was a treat!

I went down to my dungeon - basement - to clean my extremely messy jewelry bench.  Instead, I saw all my beads from artBLISS begging me to make something!  These beads of Karen Totten's were going to be a bracelet, but ended up as a very cool necklace, instead!  Much better, I think.


Love, love, LOVE the pumpkin!

Karen had strung the little black raven right next to that branch, and it was destined to become a pendant.


The four links above are a take-off of a link design from Cindy Wimmer's new book, The Missing Link.  Her link design was in the shape of a triangle, but I wanted it to look more like haphazard nesting materials, with branches not quite meeting.  I like it!


This next necklace features the cutest little hoot-Owl, also one of Karen's creations.


That circle link I used in the pendant is another one of Cindy's link designs.  I have to say - this was a little tricky, as there are multiple layers of wire and coils.  But, well worth the effort! This link is one of the many reasons I love Cindy's book - the designs are complex - yet doable -  and that is the look I am going for.  It is sturdy and has the coolest affect!  


I wanted the handmade chain to be substantial, so I got out my saw and made many, many, many jump rings to create love knot links.


I love Karen's beads - they are fabulous!


This last necklace features another cool link of Cindy's - a take-off Infinity Link design.  I make infinity link chain quite a bit, but for this link, I did not have the described 12 gauge wire.  So, I used 10 gauge.  There was A LOT of annealing going on between shaping, hammering, and adding texture to this link! Fine gauge sterling silver is "sewn" in the middle - these are really awesome focals! Cindy commented on Face Book that this would make a cool bracelet focal - and I agree!


I continued the chain with smaller infinity links - though, I hammered them flat and added texture to mimic the focals.


It does not take many of Donna Millard's lampwork to make a necklace complete - her beads are simply put, beautiful!  Three of them made it into this necklace.


It has been raining in Northern Virginia, as well as most of the Mid-Atlantic region since Wednesday.  Before I had dogs many, many, many years ago, I used to love the rain!  Now, it just means lots more laundry to wash Sarge's dog towels!  

My niece is getting married next June, so Mom and I are headed out the door to go wedding dress shopping with Sarah.  I hope there are breaks in the weather!

Miracle Horse Rescue Fundraiser Update.
To date, I have raised and donated $2,198.00 to Miracle Horse Rescue!  THANK YOU to everyone who has purchased or shared my many, many face book advertisements!  My sale in my shop runs through the end of this month, with all proceeds donated to the wonderful rescue organization! Click here - it will take you to Miracle Horse Rescue's Face Book page. 

Thank you so much for stopping by today - I hope you have a wonderful weekend!

Tuesday, October 8, 2013

I could become addicted to this....

Post Earrings!  These are my favorite earrings to wear - I tend to push my hair back behind my ear, and almost always knock my french ear wire earring straight to the floor.  Does anyone else have this problem?  Please tell me I am not alone! Although, my dear sweet mother has lost several earrings this way, though she does not have long hair, so I am not sure how that happened! :) 

One of the classes that I had at ArtBliss was with Stacie Florer.  She was kind enough to share many tips on how to solder on that tiny, tiny post to an earring back.  And I am going to town with it!


I hand cut the discs from silver sheet and hammered them for texture:


I put no texture on these discs - just brushed them to a mirror-like finish.  Of course, now I have yet another photography hurdle to master - how NOT to capture a picture of my camera, my hands, the light bulbs...etc. in the silver.  Ugh...


This pair looks awesome when worn - I cut a rectangle from sheet, then cut it into triangles.

I was so excited to finally use a tool I have had in my arsenal for AGES - a Swage block!  This tool helped me achieve a cool curve on the metal.  I added some garnets to the bottom for just a little bit of swing.

Photo Source: RioGrande.com
Two discs together, hand stamped with "XO" - As I look at this picture now, I see a snowman....hmmm...


One of the highlights of artBLISS was shopping for art beads!  We were treated to the ultimate shopping experience - pizza and beads!  I blew my budget on lampwork by Sue Kennedy (SO HAPPY TO FINALLY MEET MY FAVORITE LAMPWORK BEAD ARTISTS!!), Jenny Davies-Reazor, Karen Totten of Starry Road Studio, and Diana Ptaszynski of Suburban Girl Studios!  I bought several sets of tiny ceramic cabochons from Diana - this is the first pair, bezel set in silver:


Love My Art Jewelry has been focusing on hoops this month - I am always a day late and a dollar short in joining blog hops.  But, I follow this blog religiously and made this cute little pair of hoop earrings.  Pretty, tiny (5mm) Sunstone cubes have been wired to the bottom:


This last pair of earrings is MY FAVORITE!  I mixed up the metals, and added these sterling silver charms that I have had 4EVER!  So lightweight!


I bought several ceramic and porcelain focals from Jenny Davies-Reazor.  So far, I have used two of these Halloween-themed focals.  The first necklace used links from Cindy Wimmer's awesome new book, The Missing Link.  It has sold (the equines at Miracle Horse Rescue say THANK YOU for the sale!)


This wrapping on this last necklace took me a LONG time...I am not quite sure why...but I love how it turned out! Mixed metals of copper and silver:


The sale in my shop continues through October 31, 2013.  All proceeds will be donated to Miracle Horse Rescue!  Thanks for our support!

Thanks for stopping by today!  Enjoy your week - I know I will, as the high heat has left Northern Virginia - yahoo!!!

xo
Patti